


Master Balloon Tying With These 4 Easy Techniques And Tips

30
Mar
Mar
Tying a balloon sounds simple until you’re actually doing it. One moment, you’re happily inflating it, and the next, it slips out of your hands or feels like it might pop right in your face. If you’ve ever struggled with stubborn knots or sore fingers while prepping for a party, you’re definitely not alone.
Whether you’re getting ready for a birthday, decorating your home, or planning a bigger event, balloons are often part of the fun. And if you’ve arranged for balloon delivery, the last thing you want is to fumble with tying them when they arrive. The good news is that with a few easy techniques, tying balloons can become quick and surprisingly stress-free.
Let’s walk through a few simple ways to get it right every time.
1. Start with the basics
Before learning different techniques, it helps to understand the most common way to tie a balloon. Once you’ve got this down, everything else becomes much easier.
Here’s a simple step-by-step approach:
- Inflate your balloon, but don’t fill it all the way. Leave a bit of space at the top so it’s easier to handle.
- Hold the neck of the balloon and pinch it firmly.
- Stretch the neck slightly and wrap it around your index and middle fingers.
- Push the end of the neck through the loop you’ve created.
- Pull it tight to secure the knot.
It might feel awkward the first few times, but once you get used to the motion, it becomes second nature. This method works well for most occasions, especially when you’re only tying a few balloons.
2. Try the loop & pull method for less strain
If you’re preparing a large number of balloons, your fingers can start to feel sore quite quickly. That’s where the loop and pull method comes in. It’s gentler on your hands and faster once you get the hang of it.
Here’s how to do it:
- Inflate the balloon and leave some slack at the neck.
- Pinch the neck and stretch it out slightly.
- Create a loop using the neck.
- Twist the loop around the base of the balloon.
- Pull the end through and tighten.
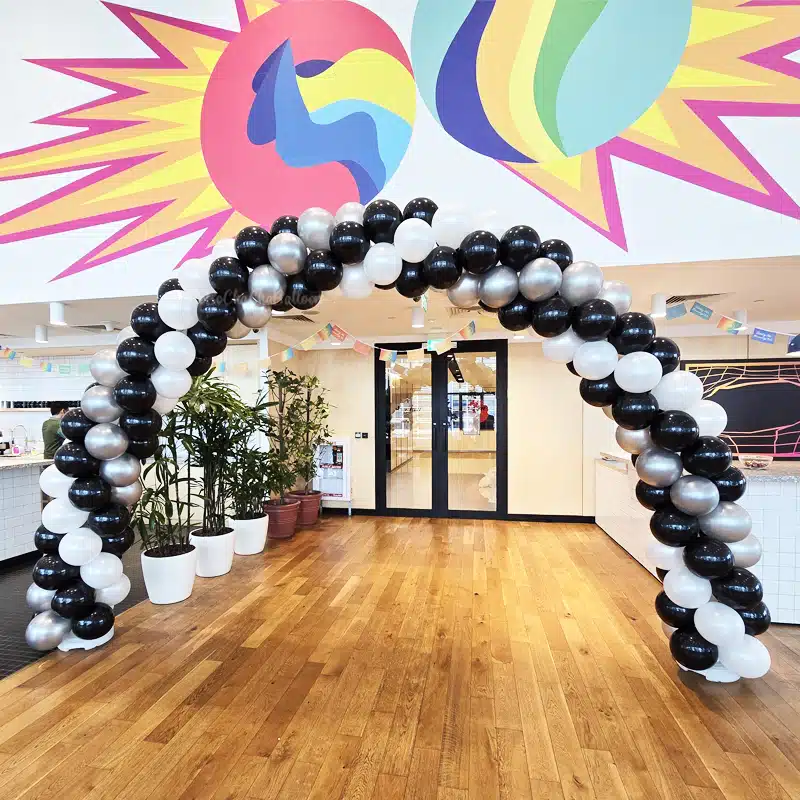
This method reduces the amount of pulling on your fingers, which makes a big difference if you’re working on decorations like balloon arches or clusters. It’s especially useful when you’re setting up for events where time and comfort both matter.
3. Use a double knot for extra security
Sometimes, you just want that extra peace of mind. Maybe you’re decorating outdoors, or you’re hanging balloons in places where they might move around more. In these situations, a double knot can help keep everything secure.
After tying your balloon using the basic method:
- Take the remaining neck
- Tie another knot directly on top of the first one
That’s it. It only takes a few extra seconds, but it can make a big difference, especially in windy conditions or longer events.
4. Make things easier with a balloon tie tool
If you’re not a fan of tying knots by hand, or you’re dealing with a large batch of balloons, a balloon tie tool can be a real lifesaver.
To use one:
- Inflate your balloon as usual.
- Slide the neck through the tool’s notch.
- Loop it around the tool.
- Pull it through the notch to form a knot.
This small tool can save your fingers from strain and speed up the entire process. It’s especially handy for parties, school events, or any situation where you need to tie a lot of balloons in a short time.
Tips for a stress-free balloon-tying experience
Tying balloons becomes much easier when you avoid a few common mistakes. These small changes can make the whole process smoother and more enjoyable.
- Don’t overinflate – It’s tempting to fill balloons to their maximum size, but that makes them tighter and more likely to pop. Leaving a bit of space gives you more control and reduces the risk.
- Choose better quality balloons – If you choose premium party balloons, you’ll notice they’re easier to handle and less likely to burst. They also tend to hold air longer, which is helpful for events that last several hours.
- Work at a comfortable pace – If you rush, you’re more likely to make mistakes or strain your hands. Take your time, especially if you’re new to tying balloons.
- Prepare ahead of time – If you’re planning a large setup, try to inflate and tie your balloons in advance. This takes the pressure off when the event is about to start.
- Consider balloon clips – If knots really aren’t your thing, balloon clips are a great alternative. They snap onto the neck of the balloon and seal it without tying. It’s a simple option that works well for beginners.
When tying balloons becomes second nature
Like most simple skills, tying balloons gets easier with practice. At first, it might feel clumsy or slow, but after a few tries, your hands will naturally learn the movements.
Many people find that once they’re comfortable with one method, they start to experiment with others depending on the situation. For example, you might use the basic knot for small batches, switch to the loop method for larger setups, and rely on a tie tool when you’re short on time.
It also helps to create a small routine when you’re preparing for an event. Inflate a few balloons, tie them, then move on to the next batch. Breaking it into manageable steps makes the process feel less overwhelming.
Conclusion
Tying balloons doesn’t have to feel stressful or complicated. With a few simple techniques and a bit of practice, it becomes a skill you can rely on for any occasion. From the basic knot to easier methods and helpful tools, there’s always a way to make the process smoother.
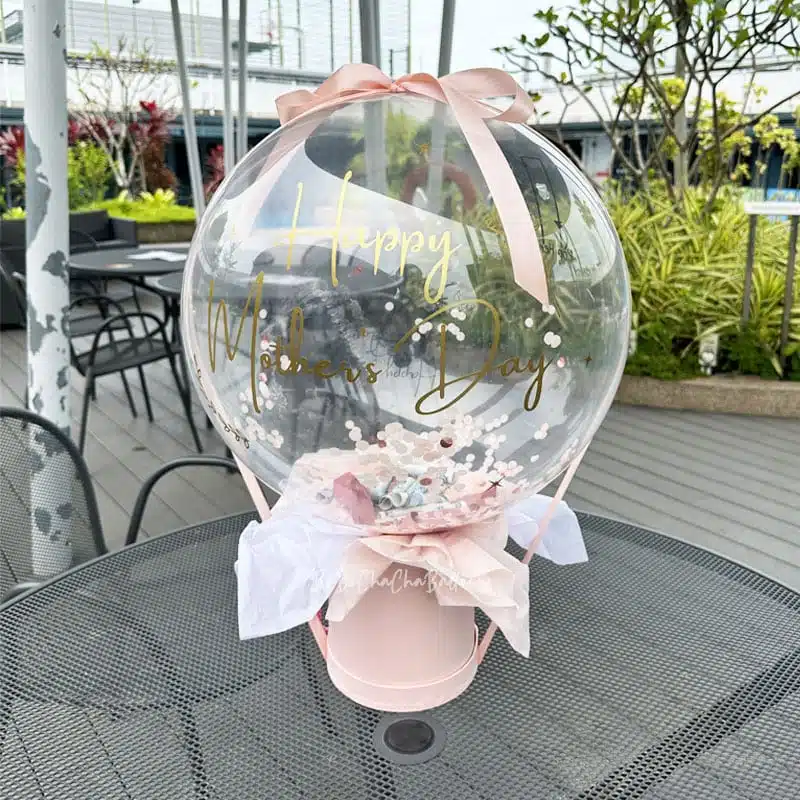
If you’re planning your next celebration and want balloons that look great and last, BoBoChaChaBalloon has you covered. From birthdays to special events, you’ll find a wide range of designs and reliable service to help you create a setup that feels just right.