


How To Use Balloons For A Unique Advent Calendar Idea

29
Nov
Nov
The countdown to Christmas is a magical journey, and what better way to embrace the spirit of the season than with a unique advent calendar that incorporates the joyous charm of balloons? In this article, we’ll explore how to transform your traditional advent calendar into a whimsical and festive experience using balloons, creating a daily celebration that captivates both children and adults alike.
1. Gather your craft supplies
Before starting your balloon advent calendar, prepare all the materials required for this project. The supplies you will need are:
- Balloon
Balloons typically come in a wide variety of colours and finishes. Choose 24 balloons that complement each other to create a harmonious colour palette for your advent calendar. Mix up vibrant shades of red, green, and white to add that additional Christmas flair to your advent calendar.
- Pump or Helium tank
Depending on your desired advent calendar design, you can choose to use a balloon pump or helium tank to fill your balloon with air. Create a floating balloon advent calendar using the helium tank for added excitement.
- Coloured markers
Choose a marker colour that contrasts with the balloons to ensure that the numbers written on it are visible. If you want something that is user-friendly and fast drying, opt for permanent markers or paint markers.
- Small treats and gifts
Get creative with the items and gifts, such as snacks and small toys to fill the balloons! You can even include handwritten letters or activity prompts for the daily surprises to make the advent calendar even more personalised.
- String, scissors and tape
You’ll need string, scissors, and tape to join it all together at the end. For the tape, use a transparent tape to ensure it remains inconspicuous. This helps maintain the overall appearance and aesthetic of the advent calendar without the distraction of visible tape.
2. Choose a design
Rearrange your balloons according to your desired layout for the advent calendar. By laying them out together, you’ll gain a clearer preview of the final appearance of the balloon advent calendar, allowing you to anticipate the overall look. Feel free to experiment with colours and finishes, creating a visually appealing balloon display.
3. Fill each balloon with a surprise
Stuff each balloon with an item, treat, note, or activity prompt. The only limit to your hidden surprise is the size of your balloon. Take full advantage of your balloon advent calendar to craft an unforgettable experience for the recipient. While sweet treats and small gifts are common fillings, consider adding a personalised note or incorporating daily activity prompts to add a unique and meaningful touch.
4. Put it all together
Once you have tied off all 24 balloons, you can start putting them together by taping the balloons onto the string. Number each balloon from 1 to 24 to represent each day of December leading up to Christmas. For an extra festive touch, consider enhancing the appearance of the balloon advent calendar by adding some Christmas decorations.
5. Pop it
Now, all your recipient has to do is pop one balloon each day to reveal the hidden surprise stored inside!
Conclusion
Transforming your advent calendar with balloons infuses an extra dose of magic into the holiday countdown. The element of surprise, personalized notes, and engaging activities make each day leading up to Christmas a celebration in itself.
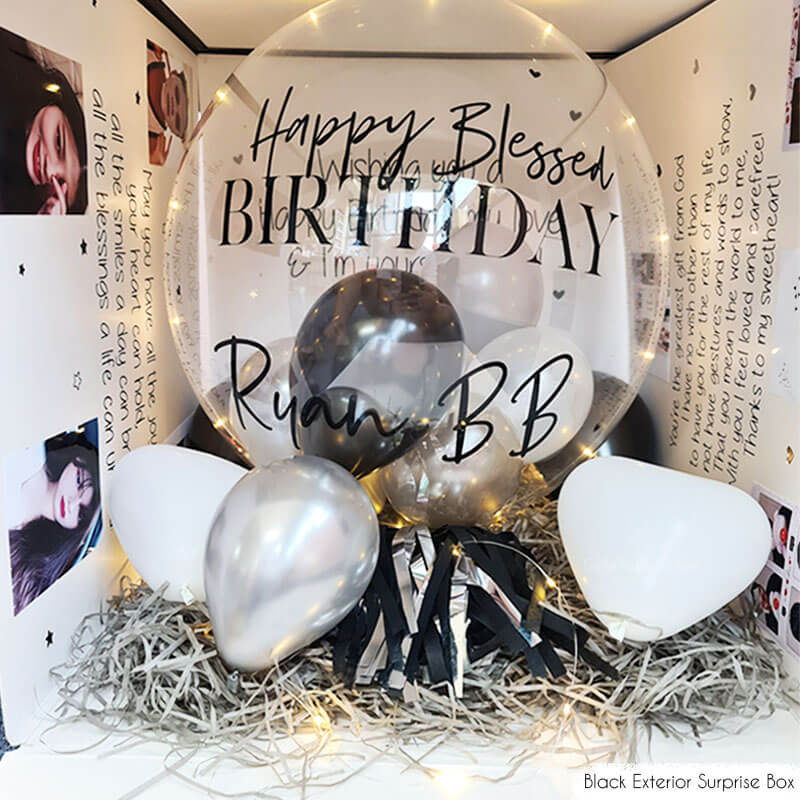
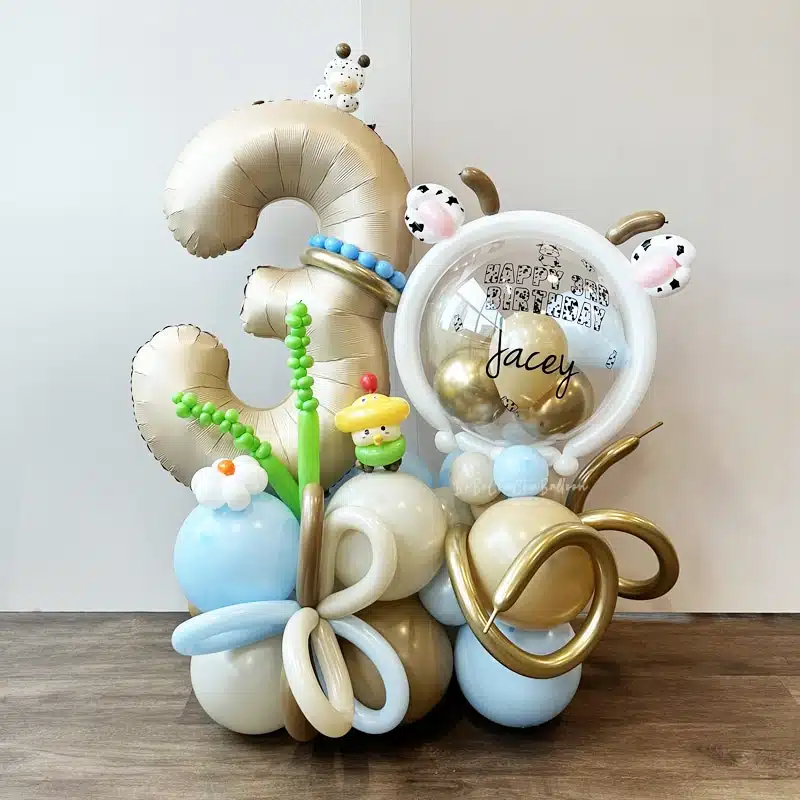
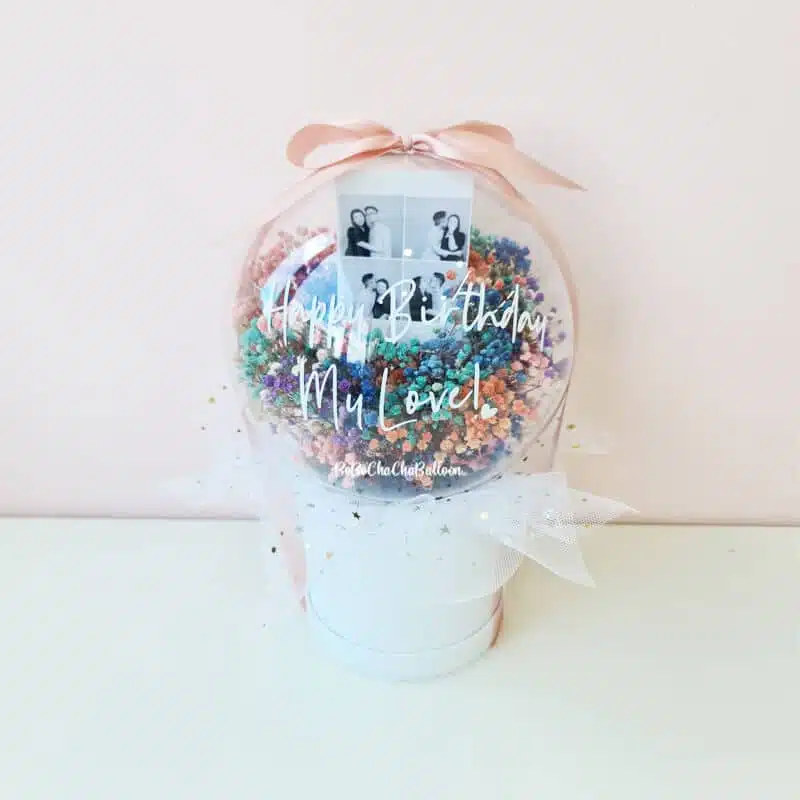
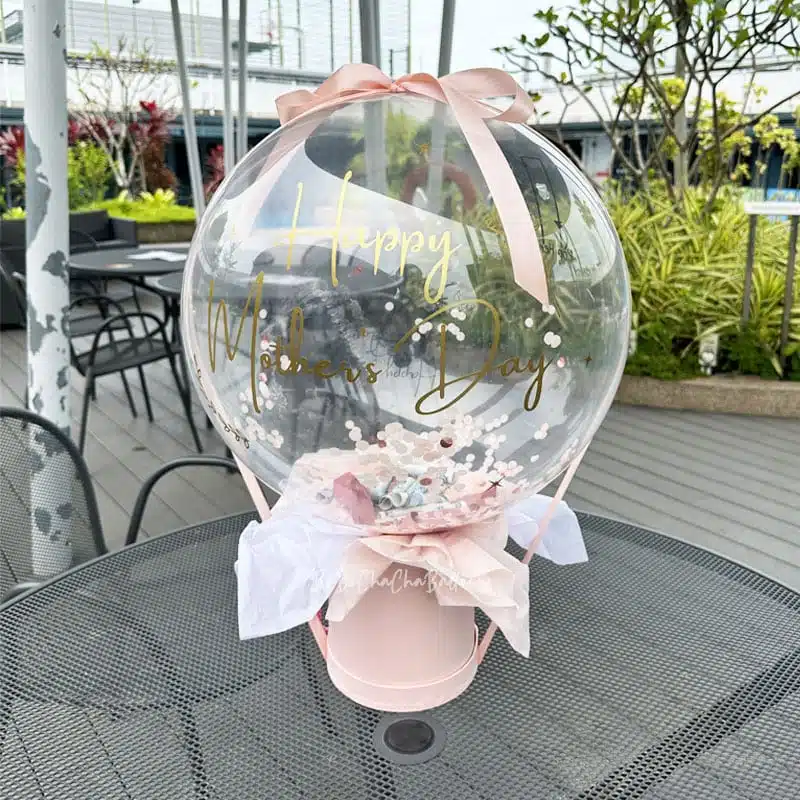
Besides using balloons for advent calendars, you can use them as a creative way to send greetings. If you are looking for high-quality balloons for your Christmas party, come check out BoBoChaChaBalloon! Get customised helium balloons, balloon garlands, and other extravagant balloon designs for your party. There is no limit to what you can create with balloons. Contact us for more details.