


How You Can Jazz Up Your Party With A DIY Balloon Arch

22
Jun
Jun
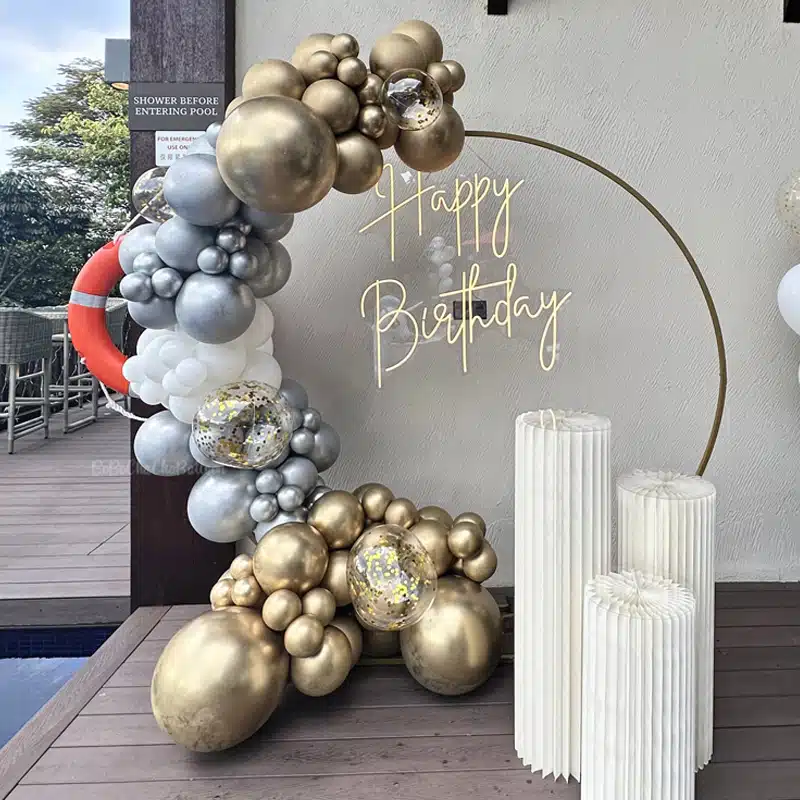
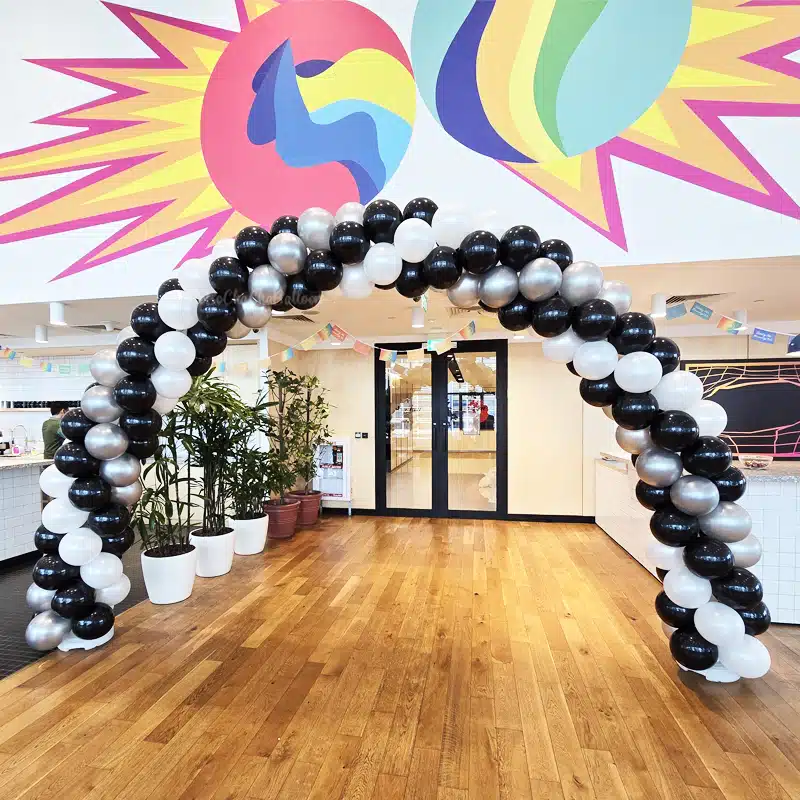
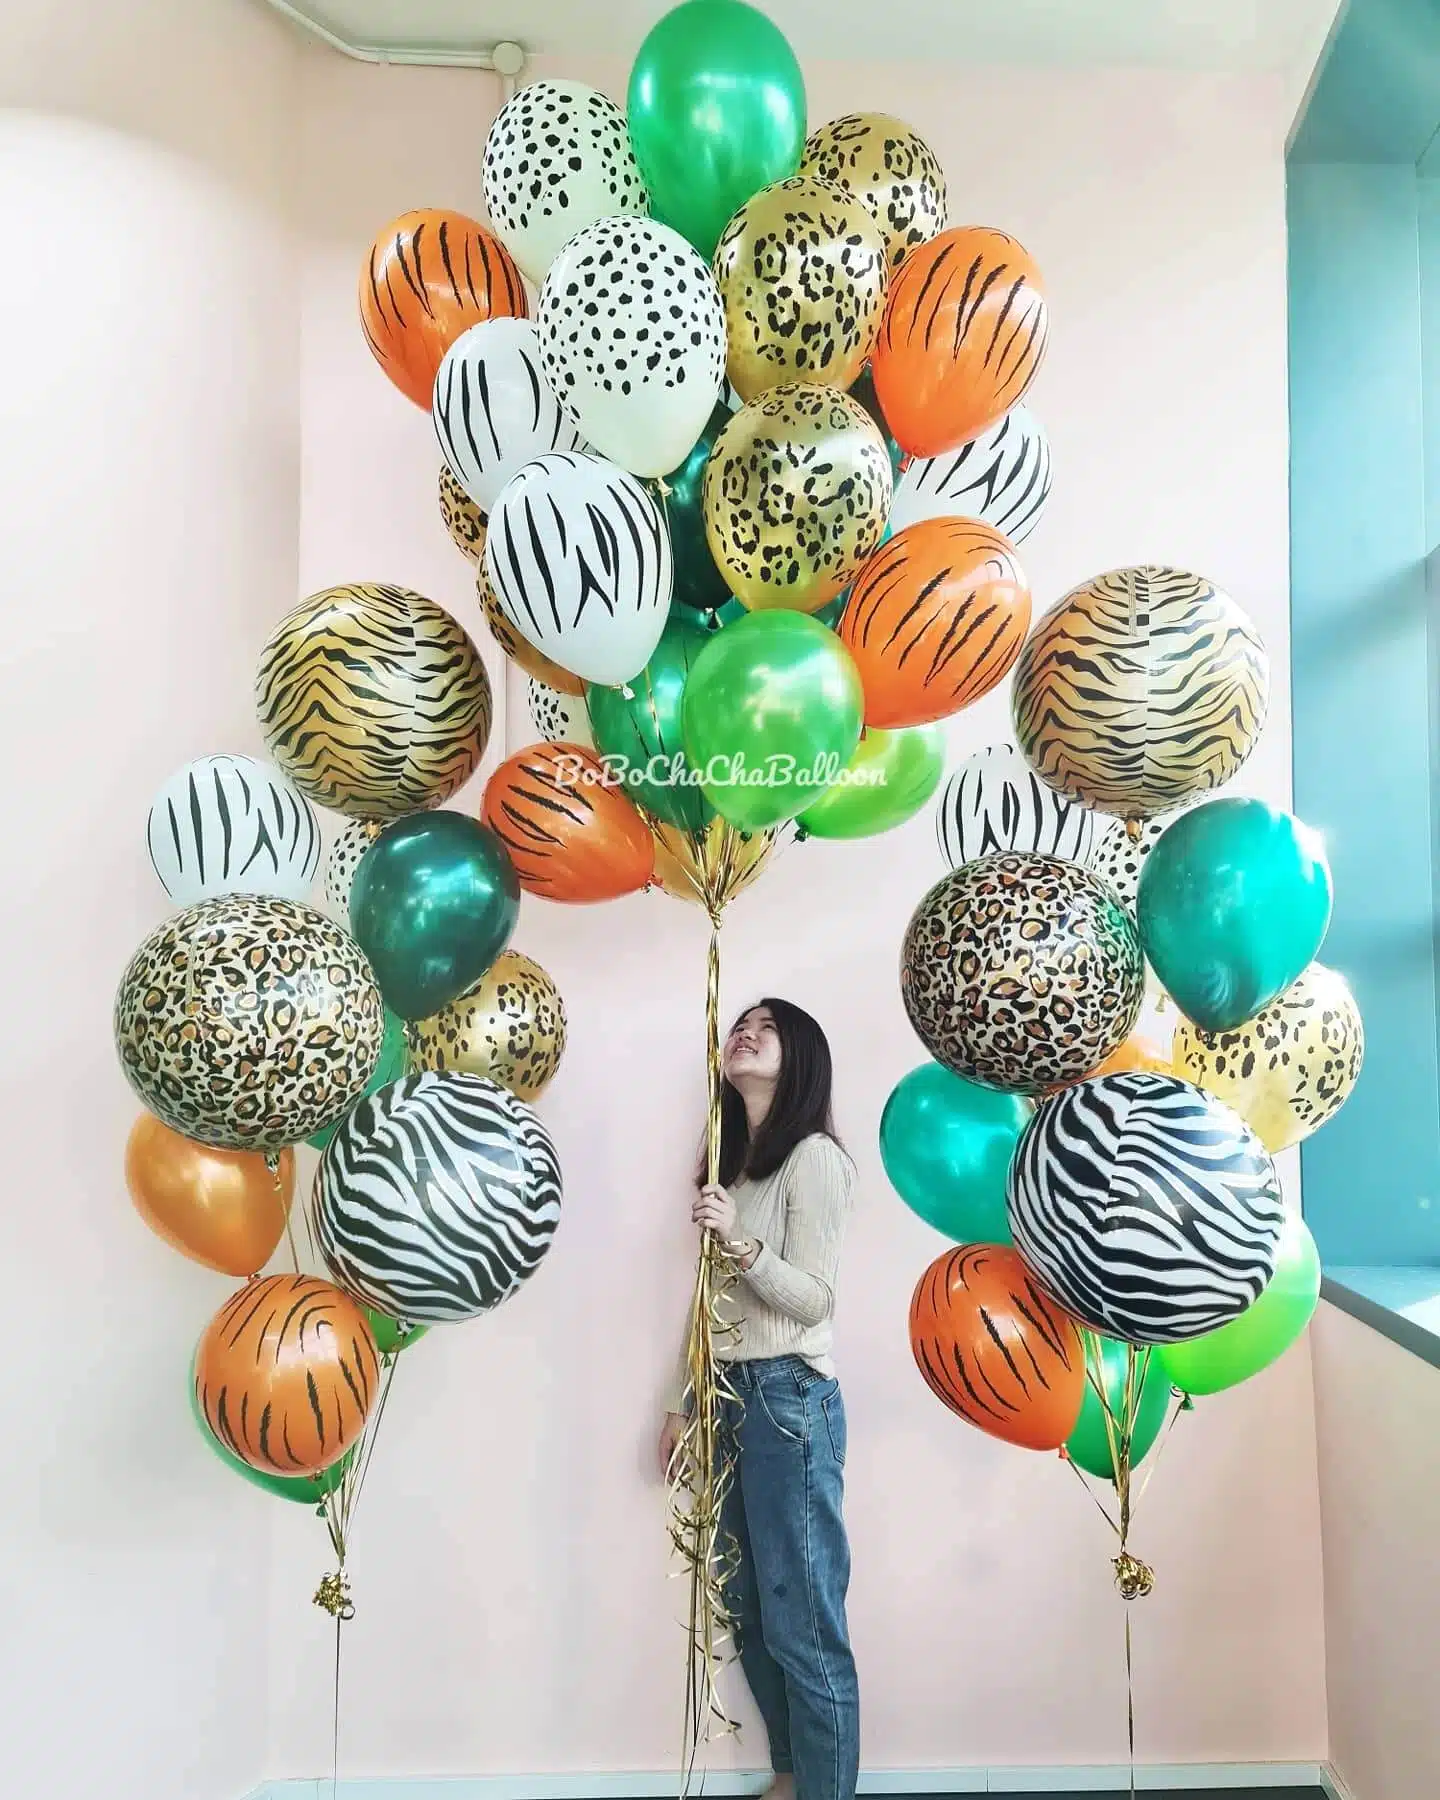
If you have ever been to any celebration, chances are you would have come across several balloon arches – decorations where multiple balloons form an arch. Be it a birthday party, a bridal shower, or even a wedding reception; balloon arches are an underrated, inexpensive decorative tool suited to enhance the atmosphere of any event. Let us share how you can create a personalised balloon arch of your own if you are looking for a way to make your party pop.
What tools will I need?
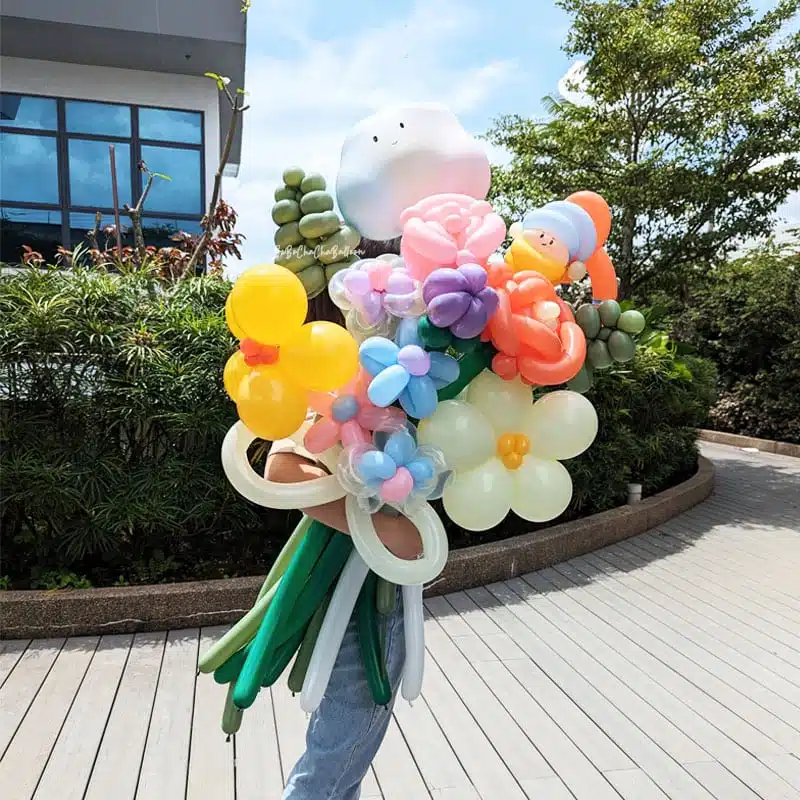
Before you start making your balloon arch, you have to gather the necessary materials. First and foremost, you will require a large number of balloons. You can purchase high-quality balloons from the various party shops in Singapore. Ensure the balloons match and complement the theme of your event. Additionally, you may want to vary the type of balloons you are using.
Since you are going to be inflating approximately 80 to 90 balloons, you might want to get some balloon pumps as well. You would also need some blunt needles and a pair of scissors. Don’t forget to get some form of string to hold all the balloons together; a fishing line works best. Lastly, to avoid melting your balloons, you would need a low heat glue gun, as well as hooks to hang the arch.
How do I create a balloon arch?
Start by visualising your balloon arch with a sketch. Consider the colours and shapes that will constitute it. The design doesn’t have to be intricate, as it is just a rough outline of your preferred outcome. For example, you might want it to resemble a rainbow or an unconventional heart-shaped arch to match the theme of your wedding anniversary. Birthday balloon decorations may include arches in the shape of numbers.
After ideation, it’s time to inflate your balloons. Typically, for uniformity reason, the balloons have to be blown up to similar sizes. However, you might want to vary the dimensions of your balloon to spice up your arch. After you’ve inflated all your balloons, it’s time to proceed to the first step of creating your personalised balloon arch.
Step 1: Thread the needle and string the balloons
For starters, you will need your blunt needle, string, and balloons. First, thread your string through the eye of the needle and tie a knot at the end. Once you’ve secured the needle and the string together, pierce the balloon’s knot with the needle and run the string along. Next, slide the balloon down the string and thread more balloons through the line until you have enough to make a complete arch.
Step 2: Secure the end of the string
When you are done threading your balloons, cut the string from the needle and secure all the balloons into place by tying a big knot at the end of the line. This prevents your balloons from running off the string, which reduces the likelihood of you having to start over from scratch.
Step 3: Set your arch up
Once your balloons are held in place, it’s time to set them up. First, position your hooks by adhering them to where you want your balloon arch to be. You have to place two hooks on the floor and, depending on the size of your arch, you will require one or two more hooks on the ceiling. Once they are in place, attach the string of balloons to the hooks.
Step 4: Fill in the gaps
If you find empty spaces in your balloon arch, get your low heat glue gun and fill the gaps with smaller balloons or even flowers. This is an excellent time to add some contrast to your arch by varying the shapes and sizes of your decorations, as these small add-ons will not overwhelm your original design but complement it instead.
Conclusion
Balloon arches are a simple and inexpensive way to take your celebration to new heights. With our guide, you are ready to design and put together this easy, DIY-friendly piece of décor. If you are unsure which balloons are best suited for a balloon arch, you can consult the party shop you patronised and seek professional help from its staff.