

Creating A Beautiful Balloon Hoop For A Birthday Decoration

21
Jun
Jun
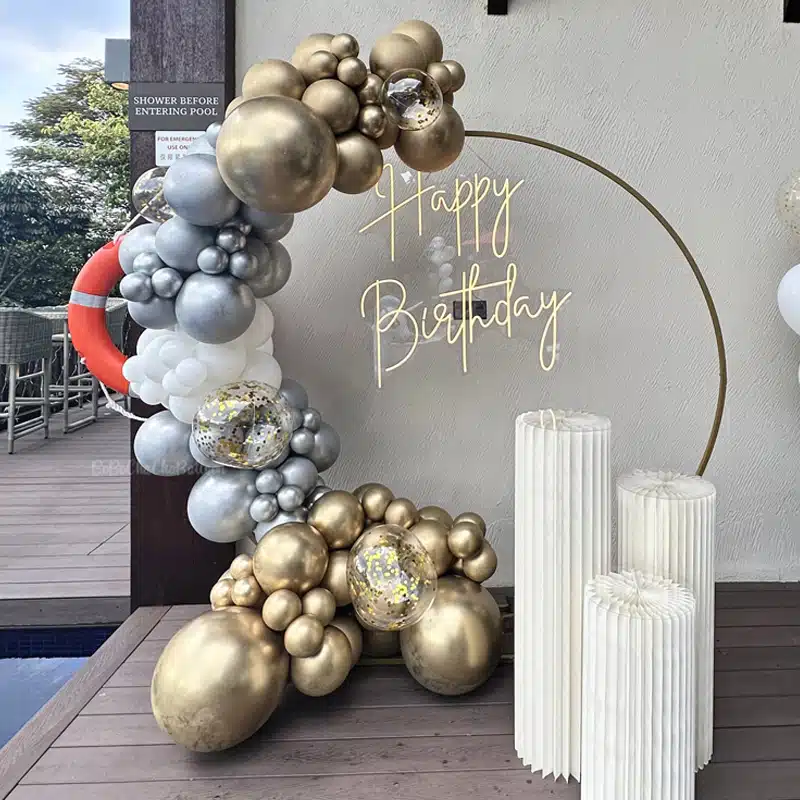
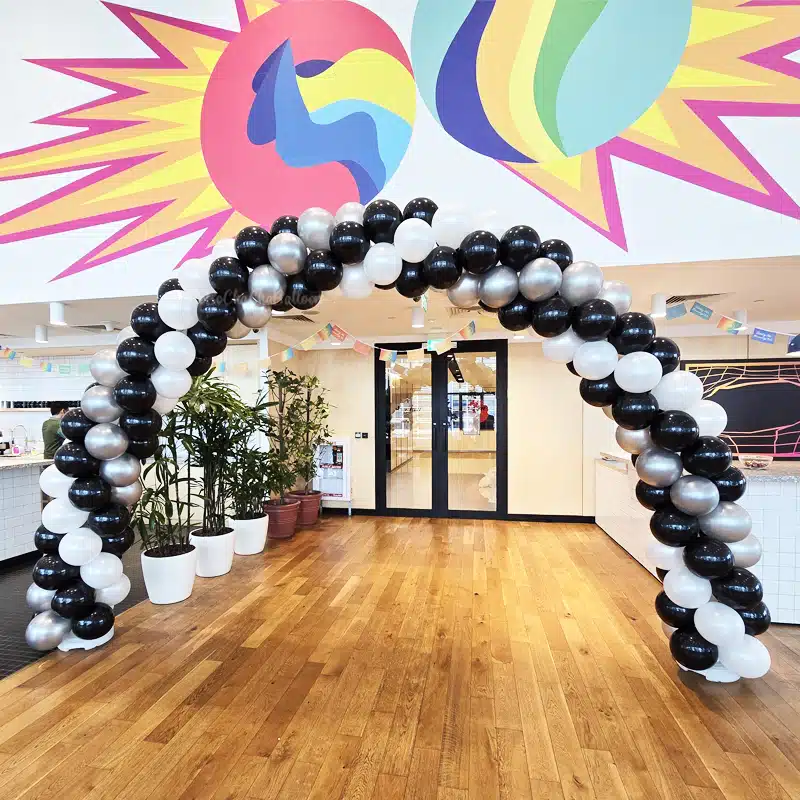
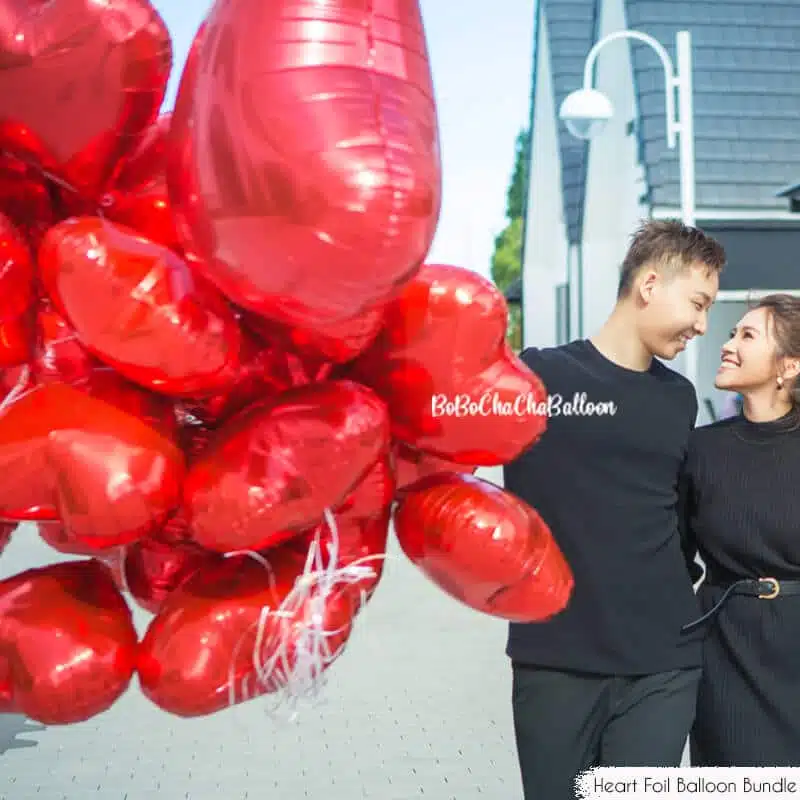
The balloon hoop is one of the hottest and most incredible party trends this year. They are extremely easy to create but look really stunning and eye-catching at the same time. You can use them as a backdrop centrepiece for your amazing parties or even as a decoration for your corporate events.
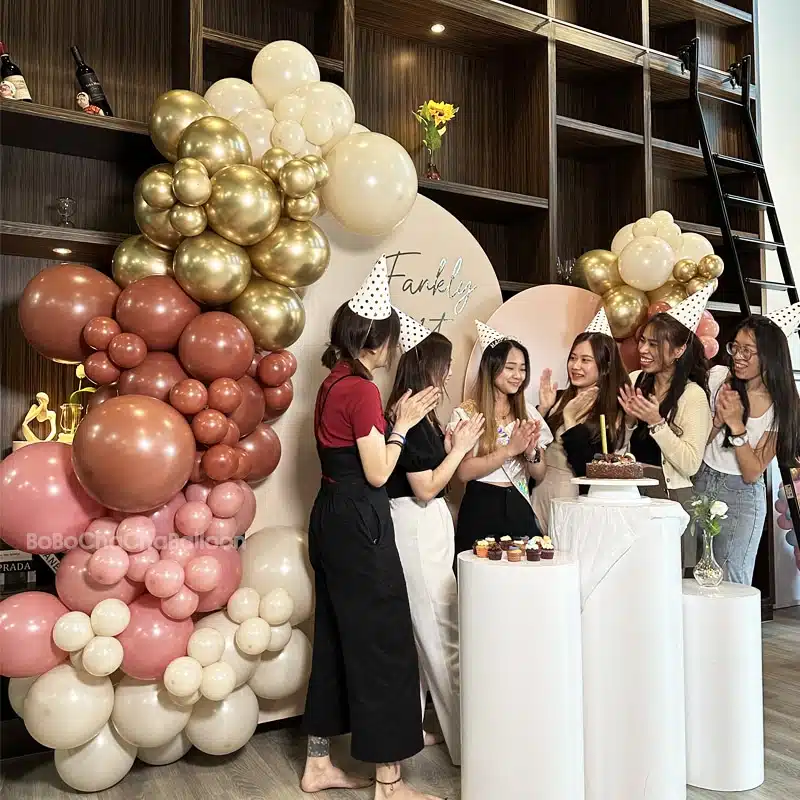
With their ease and beauty, balloon hoops are perfect for every occasion, from birthdays and baby showers to anniversaries and weddings. If you are already convinced to make this wonderful decoration for your next celebration, read on as this article provides a step-by-step guide on how to create a stunning balloon hoop.
Materials You Will Need
Before going into the step-by-step process of making a balloon hoop, you first need to make sure that you have all the materials you need to create an impressive balloon hoop. Here are the items you will need to get from your local party shop in Singapore:
- One hula hoop or a big wooden hoop
- Small 5-inch helium balloons in different colours
- A big foil number or letter balloons (depending on the occasion) in the colour of your choice
- A balloon pump
- Spray paint or eggshell paint in the colour of your choice
- Fishing wire
- Cellotape
- A glue gun
- Flowers for decoration
- Ribbon to hang the hoop (optional)
A Step-By-Step Guide
Step 1: Spray paint the hula hoop to the colour of your choice, then leave it to dry for a day or two. Ideally, you should hang or suspend the hoop so that it is not touching the floor surface or anything else. Otherwise, there is a tendency that it will stick, especially to newspaper or other paper covers. Allow a couple of days to complete this step, as you may need more than one coat.
Step 2: Blow up your foil number or letter balloons, and then put them to one side.
Step 3: Using the balloon pump, blow up all the small helium balloons to about 4 inches or until they achieve more of a round shape instead of the traditional oval shape. The best way to create this shape is to blow the balloons up slightly bigger and then release some air. Squash the balloons into a round shape, and then tie the necks as close to the balloons as possible to maintain the round shape.
Step 4: Tie the small balloons together in groups of two with the use of the balloon tie noodles (the part where you tie the balloons). Each group can consist of the same or different colours, depending on how mixed up or diverse you would like the colours to be. Then, take two balloon sets and twist them around each other in order to end up with a group of four balloons. Repeat this process until you have grouped most of the balloons into quads. Set aside around three pair sets.
Step 5: Get your floral decoration, and use either the fishing line or cellotape to secure it to the bottom of the hoop. Cut the stem off or try to hide as much of it around the back of the hoop. Make sure that the flower is securely held in place.
Step 6: Take a set of four balloons, and have the fishing line tied to them. Then, tie a group of balloons firmly to the hoop. Be sure to get most of the balloons at the front. Repeat this process with another group. Move the balloons around until you are already satisfied with the way the colours are arranged. Take note that the balloons must be sitting firmly together. Push the two balloon groups together so that you can hide as much of the hoop and the balloon ties as possible.
Step 7: Continue placing more balloons along the bottom of the hoop and then begin adding balloons at the top. Make sure you are satisfied with the distribution and position of the balloons. Depending on the appearance you are trying to achieve, you can have more at the bottom or equal amounts.
Step 8: Get the foil balloon, and have the fishing line threaded through the top hole. Then, have the fishing line tied to the top of the hoop.
Step 9: Repeat with the use of the hole at the bottom of the foil number or letter balloon, simultaneously making sure that the balloon is straight and equally suspended between the bottom and top of the balloon.
Step 10: Get some more fishing line or ribbon, and make a loop to suspend or hang the hoop on the wall. Alternatively, you can also lean the hoop against the wall on a buffet table.
Conclusion
There you have it! The steps shared in this article make up the simple and quick process of creating a balloon hoop. Indeed, this trendy balloon decoration is very easy to make. All you need are creativity and some materials that are usually readily available in a local party shop.
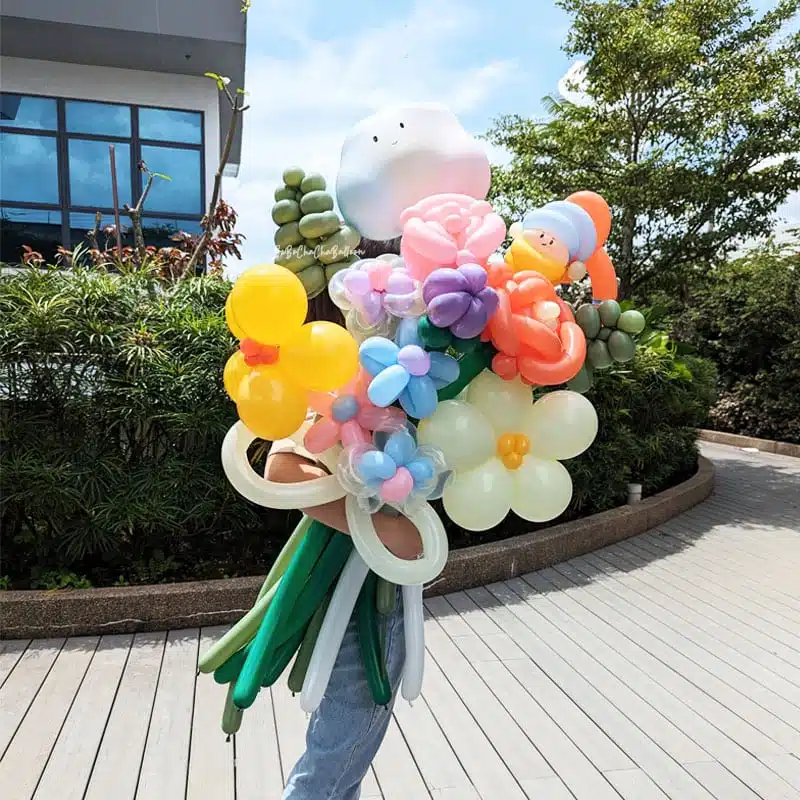
At BoBoChaCha, we offer an excellent selection of balloons and other party decorations that will surely level up all your celebrations! Feel free to check out our website to find all the great party items you need.